Cartoon illustration of an older man with glasses pointing at a Mac computer screen showing the System Settings > Accessibility > Zoom menu, with the title "Magnify Your Mac's Screen" in bold text above.

Mac Zoom Screen Magnifier – Make your Mac Easier to See

About This Article

In this article, you will learn about the Mac Zoom Magnifier on your Mac that lets you magnify the screen. Making text, icons and menus bigger. This is the free built-in screen magnifier that comes with your Mac. Watch our tutorial video to learn more

Watch our Tutorial on the Zoom Screen Magnifier

In this video, you’ll meet Jim. Jim has just brought a new Mac but is struggling to see the tiny text and icons on the screen, nearly leading him to make a very expensive mistake with his online banking. We’ll show how the Mac Zoom Screen Magnifier can help Jim see his Mac more easily by making text and other elements bigger.

What is a Screen Magnifier

Most of us are used to zooming in on a photo or a document inside an app. But that kind of zoom doesn’t help with things like menus, icons, or control panels.

A screen magnifier does more — it enlarges everything on your screen, making it all easier to see, and you can choose different zoom styles (lenses) depending on what you’re doing. It is a Screen Magnifier. Your Mac comes with a built-in screen magnifier called Zoom. Zoom has nothing to do with the Video Conferencing platform of the same name.

Mac Zoom Magnifier Styles

Just as you may change glasses for different tasks, with the Mac Zoom Magnifier, you can switch between different lenses or styles depending on what you are doing. Zoom has three styles:-

  • Full Screen – Magnifies the entire screen, good for general tasks, gives you the maximum amount of magnification.
  • Split Screen – Splits the Screen in two, one section is magnified and the other section is normal size. This is good when you need magnification, but you also need to see the structure of the document. Such as viewing tables, spreadsheets or filling out online forms.
  • Picture-in-Picture – Provides a small window magnifing the area under the mouse pointer. Picture-in-Picture is good for examining details of pictures, clicking on handles to adjust the size of elements such as images. or changing values in dialogue boxes where you want to see the change as it happens.

Activating Mac Zoom Magnifier

To Activate Zoom Magnifier

  1. Click on the Apple Icon
  2. Choose System Settings
  3. Choose Accessibility
  4. Choose Zoom
  5. You can now choose how you’d like to activate zoom – You can choose
    • Use Keyboard Shortcuts,
    • Use Trackpad Gesture to Zoom (Tap to Zoom)
    • Use the Mouse – Scroll Gesture with Modifier Keys to Zoom (Scroll to Zoom)

Use Keyboard Shortcuts with Mac Zoom Magnifier

  • To toggle Zoom on and offOPTION+COMMAND+8
  • To Zoom InOPTION+COMMAND+=
  • To Zoom OutOPTION+COMMAND+-

Use Trackpad Gesture (Tap to Zoom) with Mac Zoom Magnifier

  • To toggle Zoom on and off – Double tap with three fingers
  • To Zoom In Double tap with three fingers and then drag up
  • To Zoom OutDouble tap with three fingers and then drag down

Use Mouse – Scroll Gesture with Modifier Keys to Zoom (Scroll to Zoom)

  • To Zoom In or OutModifier Key+Scroll Wheel
  • The default modifier key is Control, however you can change this by clicking on the drop down list and choosing an alternative.
"Side-by-side comparison of an iPhone screen before and after accessibility adjustments. The left screen shows a standard display, while the right screen has larger text and high-contrast settings enabled. Red arrows indicate the transformation. The text reads 'Struggling to see your iPhone?' with the Sight Airedale logo.

Struggling to See Your iPhone?

About this article

Are you struggling to see your iPhone’s screen? If so, this article and video will show you the accessibility settings you can change to help make using your iPhone easier.

Watch our Tutorial on Changing the iPhone Accessibility Settings

1. Resize Screen Elements

Adjusting screen size can help with visibility. You can resize screen elements to make text, buttons, and icons larger and easier to see.

Increase Text Size

  1. Open Settings.
  2. Go to Display & Brightness.
  3. Tap Text Size.
  4. Drag the slider to increase the text size.
  5. If you need even larger text, go to Settings > Accessibility > Display & Text Size > Larger Text, then enable Larger Accessibility Sizes and adjust the slider further.

Use Display Zoom for Larger Icons and Controls

  1. Open Settings.
  2. Go to Display & Brightness.
  3. Scroll down to Display Zoom and tap View.
  4. Choose Larger Text to increase the size of icons and interface elements.
  5. Tap Set and restart your device to apply changes.

2. Improve Contrast

Increasing contrast improves visibility, making text and elements easier to distinguish.

Enable Bold Text

  1. Open Settings.
  2. Go to Accessibility.
  3. Select Display & Text Size.
  4. Toggle Bold Text on for thicker, more readable text.

Enable Increased Contrast

  1. Open Settings.
  2. Go to Accessibility.
  3. Select Display & Text Size.
  4. Toggle Increase Contrast on. This enhances the difference between text and backgrounds, making content easier to read.

Reduce Transparency for Better Visibility

  1. Open Settings.
  2. Go to Accessibility.
  3. Select Display & Text Size.
  4. Toggle Reduce Transparency on to make backgrounds more solid, improving contrast in menus and overlays.

3. Enable Dark Mode

Dark mode is useful for reducing eye strain. You can enable this mode for better visibility in low-light environments. There are also additional dark mode options available:

  • Classic Invert: Reverses all colours on the screen, making white backgrounds black and black text white. This is useful for users who prefer a fully inverted display.
  • Smart Invert: Similar to Classic Invert but maintains the colours of images, videos, and some apps that already use dark mode.

To enable these features, go to Settings > Accessibility > Display & Text Size and select the mode that suits you best.

4. Adjust Colour Settings

Changing colour settings can improve readability. If you have difficulty distinguishing certain colours, you can enable Colour Filters to customise the display to your needs.

To adjust colour settings:

  1. Open Settings.
  2. Go to Accessibility.
  3. Select Display & Text Size.
  4. Tap Colour Filters.
  5. Toggle Colour Filters on and choose from options such as Greyscale, Red/Green Filter (for Protanopia), Green/Red Filter (for Deuteranopia), and Blue/Yellow Filter (for Tritanopia).
  6. Use the Intensity and Hue sliders to fine-tune the display.

5. Customise App-Specific Settings

Some apps allow individual accessibility settings for a better experience. For example, you can increase text size in apps like Safari, Mail, and Messages without affecting system-wide settings.

To adjust app-specific settings:

  1. Open Settings.
  2. Go to Accessibility.
  3. Select Per-App Settings.
  4. Tap Add App and choose the app you want to customise.
  5. Adjust settings like Larger Text, Bold Text, Reduce Transparency, and Invert Colours for that specific app.

6. Reduce Transparency

Reducing transparency can make menus and overlays clearer and easier to read. To enable this:

  1. Open Settings.
  2. Go to Accessibility.
  3. Select Display & Text Size.
  4. Toggle Reduce Transparency on.

7. Use Accessibility Shortcuts

Accessibility shortcuts allow you to quickly toggle different visibility settings. To set up a shortcut:

  1. Open Settings.
  2. Go to Accessibility.
  3. Scroll down to Accessibility Shortcut.
  4. Select the features you want quick access to, such as Zoom, Colour Filters, Smart Invert, or Reduce White Point.
  5. Triple-click the side or home button to activate the shortcut.

By adjusting these settings, you can make your iPhone screen easier to see and use.

Hey Siri' for someone else without Siri hearing you. The image features a black background with white and yellow text, a smartphone displaying the Siri setup screen, and a yellow sidebar labeled 'HOW TO'. The logo 'sight airedale' appears at the bottom.

Assisting a Visually Impaired Person to set up Hey Siri

About This Article

If you’ve tried to assist a visually impaired person to setup Hey Siri, you may have experienced the problem of trying to read the prompts to them, but Siri hearing and responding to your voice instead of theirs. In this Article and Video I demonstrate how to use the VoiceOver screen reader to speak the prompts, for the user to then repeat.

Watch our tutorial on how to assist a visually impaired person set up Hey Siri

Instructions

  1. :Open the Settings App on your Phone
  2. Scroll down and tap on “Apple Intelligence and Siri” (or just “Siri” on an older phone)
  3. Select “Talk and Type to Siri” and ensure “Press Side Button for Siri” is turned on
  4. Activate VoiceOver by pressing and holding the side button and saying, “Turn on VoiceOver.” VoiceOver changes how your phone works—instead of a single tap to activate an item, you need to select an option by tapping on it once and then double-tap to activate it.
  5. With VoiceOver on, navigate to “Hey Siri” by selecting it with a single tap and then double-tap to activate it.
  6. Siri will say the following phrases. After VoiceOver has said them, have the person you’re assisting repeat each phrase.
  • Hey Siri, how’s the weather?”
  • Hey Siri, send a message
  • Hey Siri, set a timer for three minutes
  • Hey Siri, get directions home
  • Hey Siri, play some music
  1. After completing the phrases, select and double-tap the “Done” button .
  2. To turn off VoiceOver, say, “Hey Siri, turn off VoiceOver” .
  3. Swipe up to dismiss any remaining messages.
  4. Now, Hey Siri is activated on your iPhone and ready to use .
Use Seeing AI to read and understand a restaurant menu.

Use Seeing AI to Read and Understand Restaurant Menus.

About this article

Seeing AI, developed by Microsoft, is a mobile app that uses artificial intelligence to assist the visually impaired in navigating the world around them. The app uses a smartphone’s camera to recognize and describe people, objects, text, and scenes in real-time.

In this video we will see how Paula a lady with Macular Degeneration can use Seeing AI’s document feature to scan, read and ask questions about a resturant menu.

Watch our Demonstration of Seeing AI

Related Posts

Make typing on your ipad easier with iOS 18

Make typing on your iPad Easier in iOS 18 by using Hover Type and Typing Feedback

About this Article

If you find sometimes you struggle to see text as your typing it, maybe in a form or search box then both Hover Type and Typing Feedback may be able to help.

Hover Type is a new feature in iOS 18 which provides a window containing large text as you type. This means you can focus on this textbox rather than hunting around the screen for the text you are typing.

Typing feedback has existed for some time, and will speak either the characters, or words as you type. Helping to prevent you from typing a long passage of text only to realise you made a typing error.

Watch our tutorial on Hover Type and Typing Feedback

Hover Type

Hover type enlarges the text as you type, and also allow you to customize its appearance. To activate hover type

  • Tap Settings
  • Choose Accessibility
  • Choose Keyboards and Typing
  • Choose Hover Typing
  • Ensure that Hover Typing is turned on.
  • Make any adjustments you want to font, font size and colour.

Now when you type, an enlarged version of the text will appear in a window.

Typing Feedback

Typing feedback will speak each character and/or word as you type. To turn on typing feedback

  1. Tap Settings
  2. Choose Accessibility
  3. Choose Keyboards and Typing
  4. Choose Typing Feedback
  5. Turn on the options you require.

Available Options

  • Speak Characters – Announces each character as you type it – you can set a delay so it only announces the character if you hold the key down.
  • Speak Words – Announces the word you have just typed when you press the space bar
  • Speak Auto-Text – Announces when autotext has made changes
  • Hold to speak predictions—Hold your finger on a predictive text option to have it spoken to you. This is useful for describing suggested emojis.
A hand dropping a ballot paper into the ballot box.

Voting in the General Election – A Guide for the Visually Impaired

The government have announced that a General Election will take place on 4 July 2024. Since May 2023, you will need to produce a photo ID to vote in person. The following type of Photo ID will be acceptable.

  • Passport
  • Driving licence (including provisional licence)
  • Blue Badge
  • Certain concessionary travel cards

You can apply for a Voter Authority Certificate from Bradford Council if you don’t have any of these ID items. An alternative is to apply for a postal vote which is now open to anyone over 18 and on the electoral register. For more information, contact Bradford Council Electoral Services at 01274 432287.

Support Available to Help you Vote

You can also get the following help when you are at the polling station, this includes:-

  • someone to read out the candidates on the ballot paper
  • to be shown a large print ballot paper
  • to use the Tactile Voting Device
  • someone to help mark the ballot paper with your decision, either someone who has accompanied you or the polling station staff
  • to be assisted in moving around the polling station

If you would like to request additional support please email electoralservices@bradford.gov.uk or call 01274 43228 or visit https://www.bradford.gov.uk/your-council/elections-and-voting/how-to-vote-in-person/

An illustration of a modern bus and a sleek train racing side-by-side through a scenic English countryside, featuring rolling green hills and traditional flora. The bus travels on a winding road while the train speeds along a parallel railway track.

Travel Concessions for Blind and Partially Sighted people in Yorkshire and Lancashire

With summer approaching, you may be looking forward to a day out. This article will explore the travel concessions available to blind and partially sighted people living in North and West Yorkshire and Lancashire.

Bus Travel

Blind Persons Travel Pass (Bus)

Eligibility: Available to West Yorkshire residents who are (or are eligible to be) registered Blind or severely Sight-Impaired. Entitles you to travel free anytime in West Yorkshire and free off-peak travel anywhere in England.

Disabled Persons (Travel Pass in West Yorkshire) Bus Pass

Eligibility – West Yorkshire, North Yorkshire and Lancashire residents who are (or are eligible to be) registered blind or partially sighted.

West Yorkshire—Free off-peak travel within West Yorkshire.

North Yorkshire—Free travel within North Yorkshire and York any time of the day except between 6 am and 9 am. Some journeys are exempt from this restriction; you should check with NYCC before travelling.

Lancashire – Free off-peak travel within Lancashire – A flat fare of £1 per journey on local bus travel within Lancashire before 9.30 am.

Note: All local authority passes allow free off-peak travel on a bus anywhere in England. Off-peak is defined as 9.30 am to 11 pm on a weekday, all day Saturday, Sunday, and Public Holidays. Certain journeys or services are subject to different rules; you should check with your local authority before travelling.

Train Travel

Blind Persons Travel Pass (Train)

Eligibility: Available to West Yorkshire residents who are (or are eligible to be) registered Blind or severely Sight-Impaired.

The Blind Persons Travel Pass entitles you to free train travel at any time of the day within West Yorkshire.

Disabled Persons Travel Pass (Train)

Eligibility: Available to West Yorkshire residents who are (or are eligible to be) registered sight-impaired or Partially-Sighted.

Half-fare, off-peak train travel within West Yorkshire. Off-peak train travel is Monday to Friday after 0930 until 1600, then from 1830, and all day on weekends and public holidays. If you are travelling by train during the weekday evening peak – 1601 to 1829 – you will need to buy an Anytime Day Single or Anytime Day Return ticket.

Note: The Blind/Disabled Persons travel pass covers journeys within West Yorkshire. For cross-boundary travel, you must pay the fare for the non-West Yorkshire section at the start of your journey—usually the full Adult fare. You should check with WYMetro before travelling.

Disabled Persons Rail Card

Eligibility: National – Be registered Blind or Partially Sighted

Visually impaired people receive discounts on National Rail Travel in England, Wales, and Scotland, including 34% off first class/standard anytime singles or returns and 50% off first class/standard anytime day returns. A Disabled Railcard costs £20 for one year or £54 for three years. Options include a physical plastic card or a digital card on your phone.

Companion Pass

Companion passes allow a companion to travel with you for free or at a discounted rate.

West Yorkshire

Mode of Travel: Bus and Train

Eligibility:

  • Have a Blind Persons Travel Pass or
  • Have a Disabled Persons Travel Pass and receive one of the following benefits for at least 12 months:
    • Higher Rate Care Disability Living Allowance
    • Higher Rate Attendance Allowance
    • PIP – Enhanced Daily Living
    • PIP – At least 10 points on the ‘Planning and following a journey’ activity

A companion is entitled to the same concessions as the Blind/Disabled Travel Pass holder, but only when they travel together. The companion does not receive their own card and cannot use the disabled person’s card to travel without them being present. The companion does not need to be the same person for each journey; however, they must get on and off the bus or train at the same time as the pass holder.

North Yorkshire

Mode of Travel: Bus

Eligibility:

  • You are sight impaired (partially sighted), severely sight impaired (blind), or
  • You need additional support because of your disability; North Yorkshire accept receipt of the following benefits as evidence.
    • Higher Rate Mobility or Care Disability Living Allowance
    • Higher Rate Attendance Allowance
    • PIP – Enhanced Daily Living or Mobility component

Cross Boundry Travel

Certain local authorities have reciprocal agreements that allow cross-boundary bus travel but not travel within that local authority. North and West Yorkshire have reciprocal agreements with North Yorkshire and York, West Yorkshire Combined Authority (WYCA), South Yorkshire, East Riding of Yorkshire and Hull, and North and North East Lincolnshire (North Yorkshire).

Your companion can travel for free on a return journey from Keighley to Skipton but not from Skipton to Grassington. If travelling to a non-participating authority, such as from Leeds to Manchester return, your companion is entitled to free travel for the Leeds to Manchester part of the journey but not the Manchester to Leeds part.

Lancashire

  • Lancashire does not offer a companion pass.

National

Mode of Travel: Train

Eligibility:

The standard Disabled Persons Rail Card automatically entitles a companion to the same discounts as the holder. However, registered sight-impaired (partially sighted) or severely sight-impaired (blind) people can also buy one adult Season ticket that enables a companion to travel with you on National Rail services only at no extra cost (so two people travel for the price of one). It doesn’t have to be the same person travelling with you on every journey.

How to Apply

West Yorkshire – Blind Persons Travel Pass/Disabled Persons Travel Pass

Phone: Bradford Council Travel Concessions Department – 01274 438723

Email: transport.concessions@bradford.gov.uk

Online: https://www.wymetro.com/tickets-and-passes/blind-disabled/

North Yorkshire – Disabled Persons Bus Pass

Phone: 0300 131 2131

Online: https://www.northyorks.gov.uk/roads-parking-and-travel/public-transport/bus-and-travel-passes/disabled-persons-bus-pass

Lancashire – Disabled Persons Bus Pass

Phone: Now Card – 0300 123 6737

Online: https://www.nowcard.org/apply/disabled-persons-application/

National Disabled Persons Rail Card

Phone: 0345 6050 525

Email: railcardhelp@nationalrail.co.uk

Online: https://www.disabledpersons-railcard.co.uk/

Stethoscope resting on a laptop next to a paper form.

NHS Accessible Information Standard

“This is an eye clinic; I’m Blind; tell me you’re not pointing!”.

Simon Mahoney, Winging It Blind

Introduction

Have you ever missed a hospital appointment because you couldn’t read the letter, or maybe you’ve had to ask a friend or relative to read a letter from your consultant, even though you’d rather keep that information private? Or did you miss your appointment slot because you couldn’t see your name flash up on the screen in the waiting room?

What is the NHS Accessible Information Standard

In 2016, the NHS Accessible Information Standard was introduced to address these issues. Unfortunately, according to research by the RNIB 2021, “81 per cent of patients reported having an appointment where their communication needs were unmet”, and “77 per cent of people with accessible information needs reported rarely or never receiving information in alternative formats.” The NHS Information standard requires that NHS Hospitals, GPs, and Adult Social Care providers must do the following: –

  • Identify the communication needs of the people using their services
  • Consistently record those needs, specifying the need rather than the reason. I.e. Requires Large Print, lip reader, needs collecting from the waiting room.
  • Have a consistent flagging system that alerts anyone involved in your care about your communication needs.
  • Sharing (with your consent) your communication needs where appropriate. For example, a GP making a referral to a consultant must include your communication needs.
  • Make sure they meet those needs. The standard allows you to specify the following: –
  • How you would like to be contacted – Telephone, Email, Text etc.
  • What format you would like the information in – Large Print, Braille, Audio, electronic format, Easy Read, BSL Video.
  • What support do you need during your appointment – Sign Language Interpreter, Guide Communicator.
  • Any additional support you need to communicate, such as hearing aids or to be able to lip read.

How to make your communication needs known.

Tell the person providing your care what your communication needs are and ask that they record this information in compliance with the NHS Accessible Information Standard.

If your communication needs are not met.

  • Remind them that they have a legal duty to provide accessible information under the Accessible Information Standard
  • Make an informal complaint via PALs (Patient Advice and Liaison Service)
    • Airedale NHS Trust contact 01535 294019 or email anhsft.patientadvice@nhs.net
    • Bradford Teaching Hospitals NHS Trust contact 01274 364810, Monday – Friday, 9am – 4pm or email patient.experience@bthft.nhs.uk
    • Leeds Teaching Hospitals HHS Trust contact 0113 2066261 or email patientexperience.leedsth@nhs.net
    • Contact Healthwatch Bradford District on 01535 665258 or email info@healthwatchbradford.co.uk or Healthwatch North Yorkshire on 01423 788128 or email admin@hwny.co.uk.
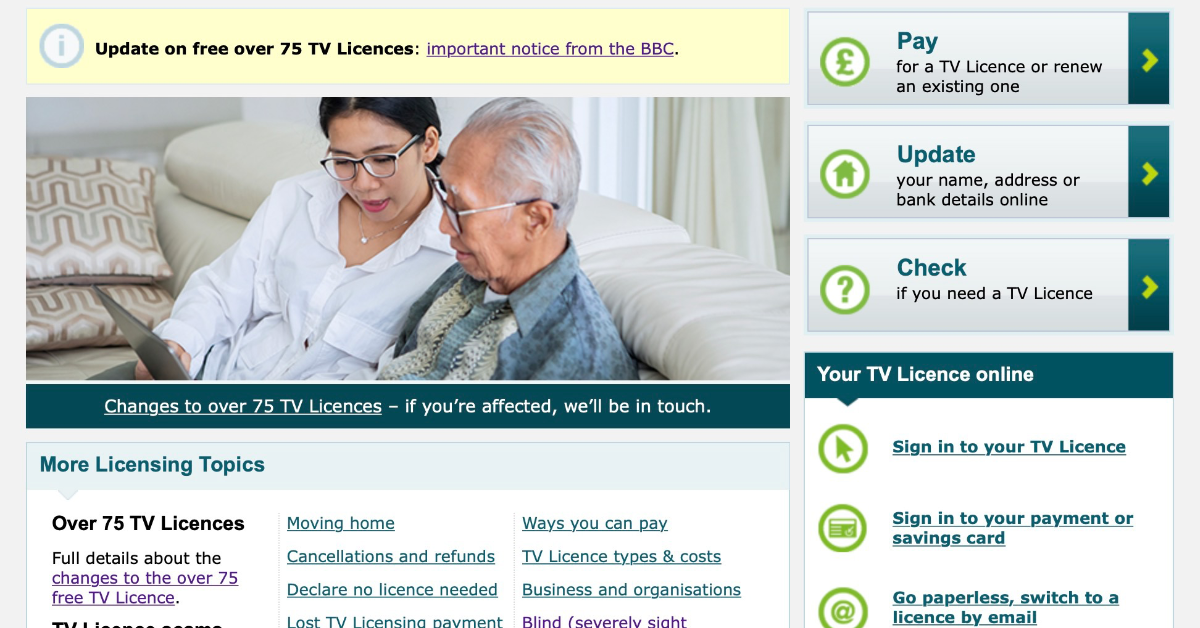
Blind Persons TV Licence Concession

Blind Persons TV Licence Concession

As of the 1 August 2020, the BBC scrapped free TV licences for the over 75s unless they receive pension credit. However, you may be able to apply for the Blind Persons TV Licence Concession.

What reductions are available?

You can get a Free TV licence if:-

  • You are over 75 and get pension credit
  • You are over 75, and regardless of if you get pension credit you live in a care home that has an ARC (Accommodation for Residential Care Licence), you need to speak to the care home administrator to see if this applies to you.

You can get a 50% reduction in the cost of a TV Licence if

  • You or someone you live with is Blind/Severely sight impaired regardless of their age.

You don’t need a TV licence if:-

  • You receive TV signals by a digital receiver that can only play sound and not display a picture.

Blind Persons TV Licence Concession

You are eligible for a 50% reduction in the cost of your TV Licence If you or someone you live with is registered Blind or Severely Sight Impaired. For a Colour TV, that’s £87.29, and for a Black and White TV, it is £29.25 (as of 4 April 2025).

How to apply

To apply for the Blind Persons TV Licence concession you can contact TV Licensing on 0300 790 6083 or visit their website at https://www.tvlicensing.co.uk/check-if-you-need-one/for-your-home/blindseverely-sight-impaired-aud5

When you first apply for the Blind person concession, you will need to provide proof that you are Blind or Severely Sight Impaired, this can be either a copy of:-

  • Your CVI (Certificate of Visual Impairment) or BD8 Certificate
  • A certificate or document issued by a Local Authority that shows you are registered as blind (severely sight impaired)
  • certificate from an Ophthalmologist (eye surgeon), stating that you are blind (severely sight impaired

Sight airedale is unable to provide you with proof of your visual impairment. Your GP (they may charge for this) or Hospital should be able to provide you with evidence of your visual status.

If the Blind Person is not the licence payer.

If the Blind person is not the licence payer, you will need to transfer the TV licence into their name, assuming they are over 18 for more information on how to do this visit the TV Licensing website or call them on 0300 790 6083. You will need to have your current TV licence number available.

How to get a refund

If you are currently paying for a full TV licence, you can apply for a refund from the date that you became registered Blind or April 2000, which is when the scheme started. You will need to be able to show that you were registered blind at the time you purchased the licence.

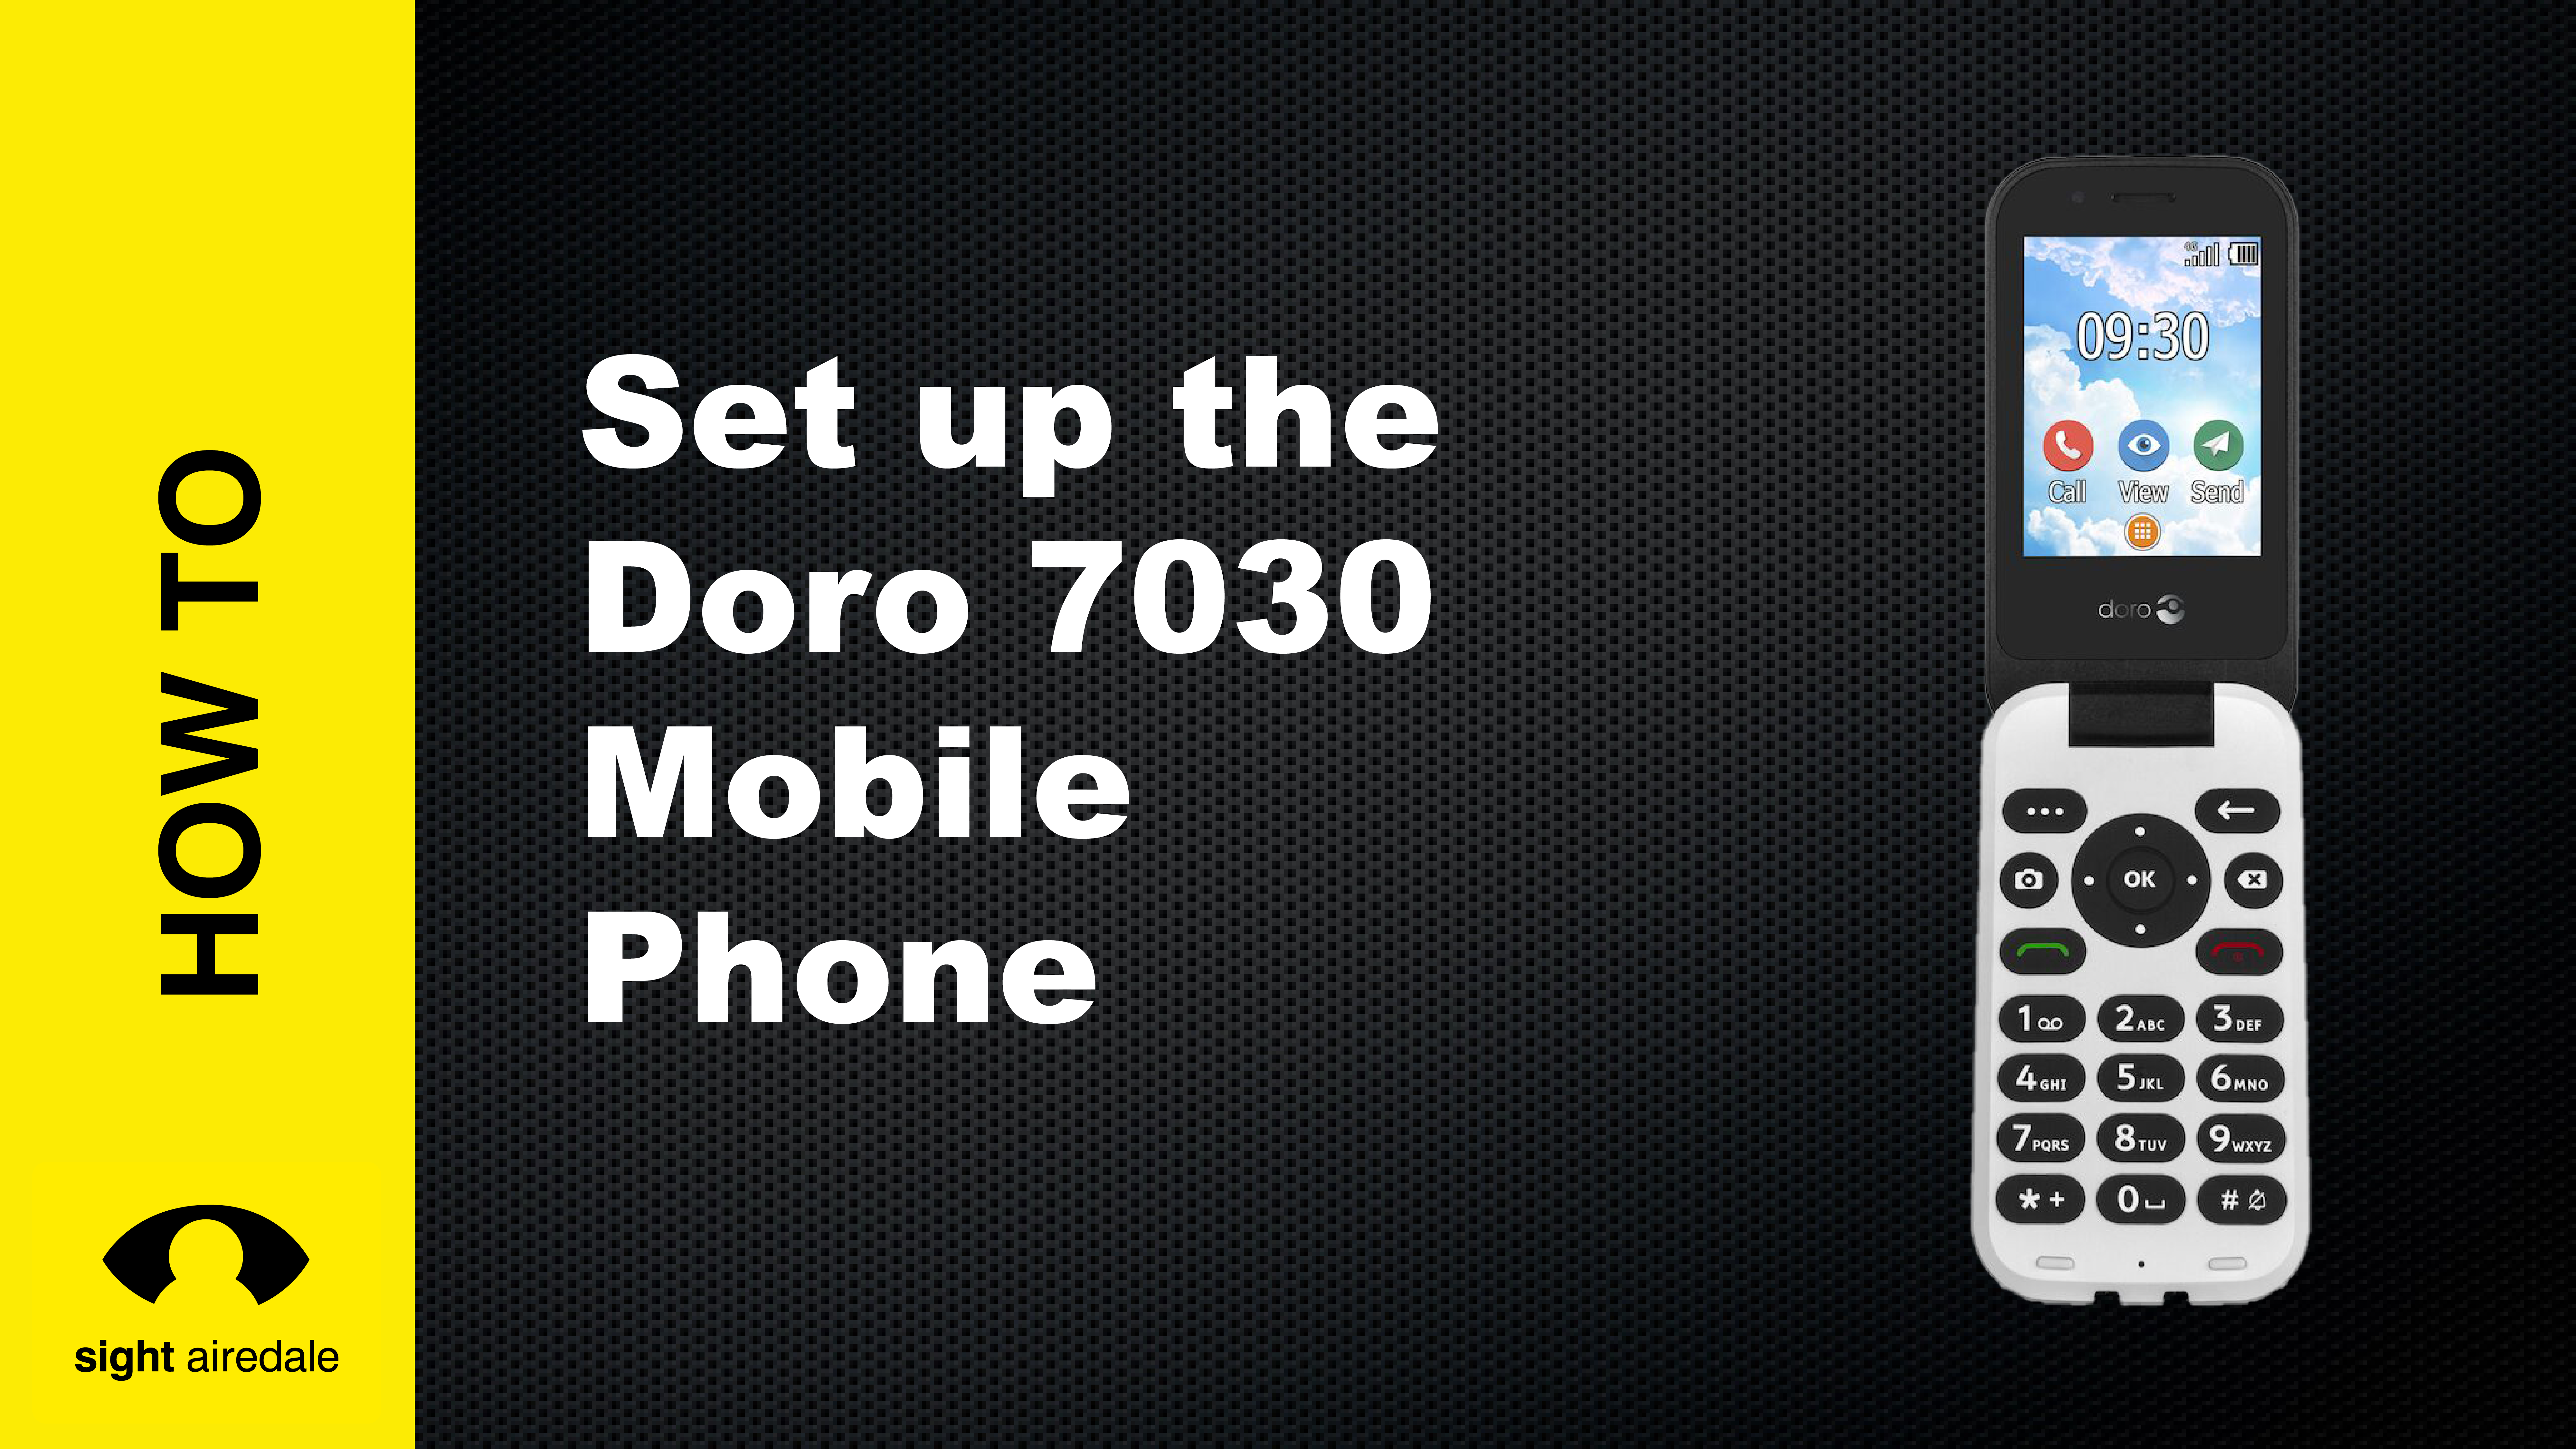
Image shows the Doro 7030 with the text how to set up the Doro 7030 Mobile Phone

How to Set Up and use the Doro 7030 – A Detailed Guide

About this article

The Doro 7030 is a simple-to-use mobile phone. While it’s initially aimed at older people, it can be used by anyone who does not want the complexity of a smartphone or prefers real buttons to a touch screen.

In this video, we will show you how to set up and use the Doro 7030. How to change the display to make it easier for people with low vision to see and demonstrate the emergency function.

Watch our tutorial on setting up and using the Doro 7030

Topics covered in this video

00:00 – Start
01:14 – Installing the Battery and Sim Card
02:05 – Removing the Back Cover
02:28 – Installing the SIM Card
03:51 – Installing the Battery
04:13 – Replace the Back Cover
04:39 – Turning on
05:13 – Charging the phone
05:54 – Orientation
11:11 – Turning the Phone on for the First Time
13:05 – Customising the Display
13:17 – Increasing the Font Size
14:39 – Increase Display Contrast
15:47 – High Contrasting Wallpaper
18:09 – Setting Menu to a List View
19:35 – Customising Sounds
20:25 – Increase Ringtone Volume
21:31 – Setting up the phone Hearing Loss
22:31 – Changing the Ringtone
24:14 – Adding Contacts
25:14 – Turn off predictive text
27:20 – Adding a Contact
28:29 – Calling a Contact
29:17 – Adding a contact to Speed Dial
31:12 – Assign Ringtone to Contact
33:04 – Missed Calls
34:12 – Emergency Button
41:37 – Doro Response